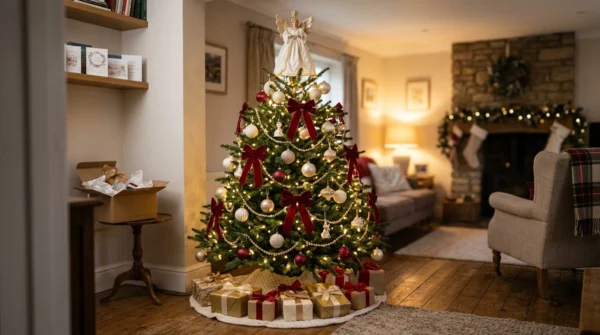
A Star Wars Christmas tree works best when it combines a space-inspired palette with a few recognizable, officially licensed ornaments. Avoid covering every branch with characters. Instead, borrow the films’ visual contrasts: bright stars against dark space, clean metal beside weathered textures, and colored accents among steady white lights.
The theme can look playful or restrained, so it suits both family rooms and formal living spaces. Black, silver, white, and deep blue create a reliable base. Red, green, gold, or icy blue accents can suggest different sides of the story without making the tree look cluttered.
Install the lights first, then add ribbon or garland. Place large ornaments next and finish with smaller decorations and the topper. Leave a few plain branches and repeat a limited color palette to give the eye room to rest.
Build a Clear Star Wars Christmas Tree Color Palette
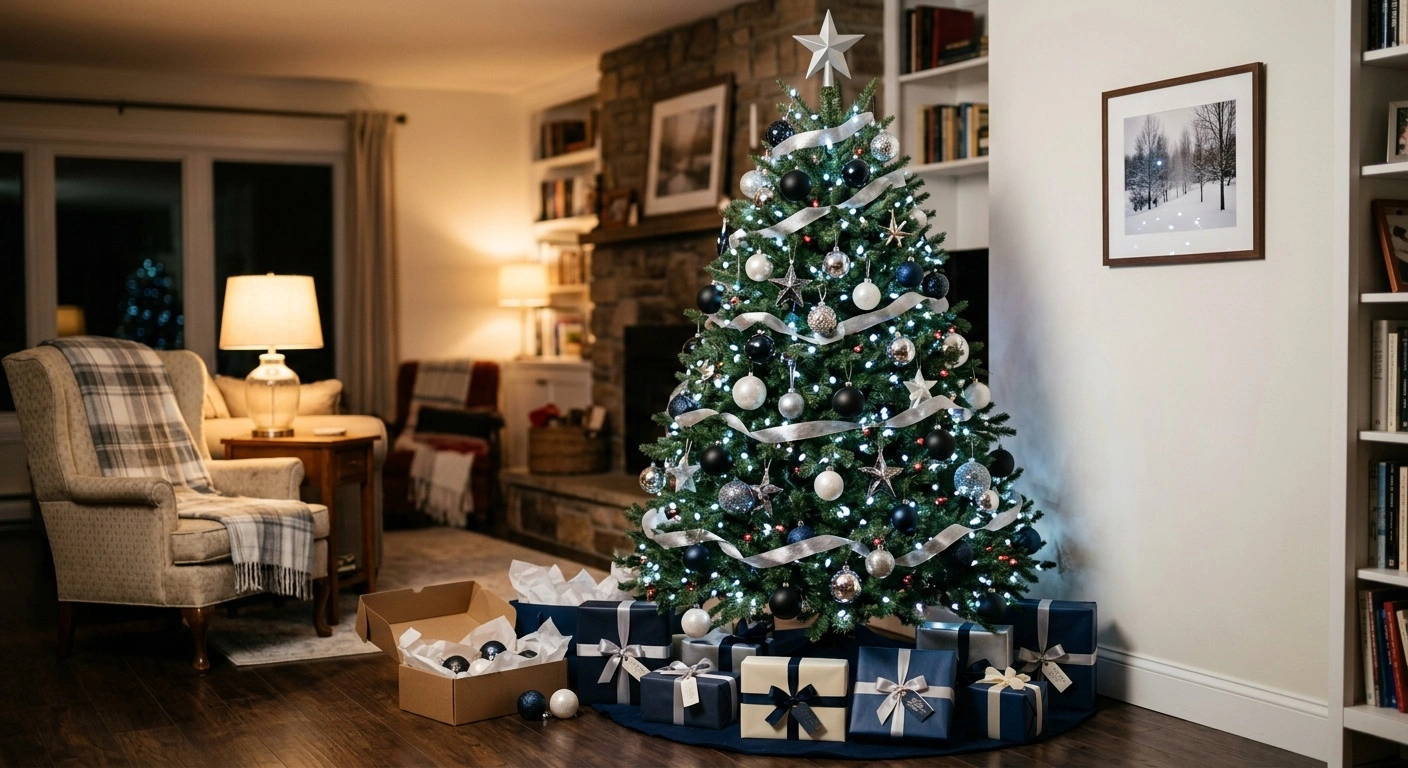
Start with midnight blue, black, silver, and crisp white. These colors create a starfield effect before you hang any themed ornaments. Silver reflects light, while white suggests stars, planets, snow, and spacecraft interiors.
For a brighter, heroic look, add cool blue accents and a small amount of warm gold. A darker design can use red, charcoal, gunmetal, and glossy black. Place white or silver between dark pieces so the details remain visible across the room.
Green also works well on a family tree. However, green ornaments can disappear into an unflocked tree, so pair them with white or metallic decorations.
Limit the main palette to three or four colors and repeat each one from top to bottom. If you use red and blue as opposing accents, arrange them in separate clusters or on different sides. This simple structure makes the design feel intentional.
Choose Lighting That Supports the Theme
Cool white LED lights suit a Star Wars Christmas tree because they complement silver, blue, and space-inspired decorations. Warm white lights create a softer effect. They often work better in rooms with wood furniture, warm lamps, or traditional holiday decor.
Colored lights can work, but rapidly changing strands may overpower the ornaments. Use steady white lights as the base, then add a few red, blue, or green lights deeper in the branches. If you have programmable lights, select a slow pattern instead of constant flashing.
Push some lights toward the trunk and leave others near the branch tips. Inner lights create depth, while outer lights illuminate ornaments and ribbon. Check the result from the sofa and doorway before you continue decorating.
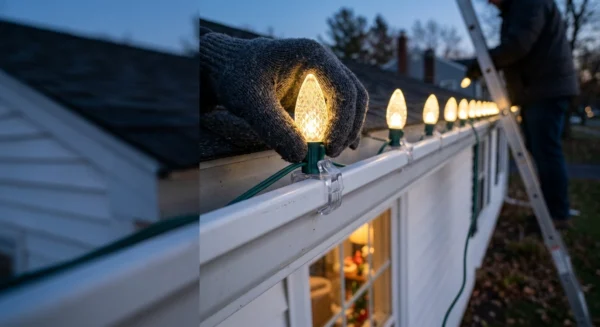
Use lights certified by a recognized testing laboratory, such as UL Solutions or Intertek’s ETL program. Inspect every strand for damaged insulation, cracked sockets, and loose connections. Follow the manufacturer’s connection limit, and use a timer to switch off the tree while everyone sleeps or leaves the house.
Use Ornaments and Texture to Clarify the Theme
Choose a small group of officially licensed ornaments as focal points. Characters, droids, spacecraft, and symbols can each establish a clear direction. Product designs change each season, so check current availability before planning around a specific ornament.
Place detailed pieces at eye level and near the outer tips of sturdy branches. Small character ornaments can disappear near the trunk. Heavy spacecraft may bend soft branch tips, so support them with strong hooks or floral wire.
Fill the remaining space with plain ornaments in your chosen palette. Matte black, mirrored silver, pearly white, and translucent blue help connect unrelated collectible pieces. You can also fill clear ornaments with silver tinsel, white paper stars, or metallic beads.
Mix smooth surfaces with a few weathered or handmade decorations. Brushed-metal ribbon, rough gray fabric, dark velvet bows, and distressed silver ornaments add contrast. Limit decorations that make sounds or produce their own light, since several effects can quickly compete.
This article is independent and has no affiliation with the franchise or its licensees.
Pick a Topper and Tree Skirt That Finish the Design
The topper should remain visible from across the room. It should also repeat one of the tree’s main colors or shapes. A licensed spacecraft, character, or symbol provides a direct option when you can find one in the correct size.
Check the topper’s weight and attachment method before buying it. Elaborate designs may require a strong central stem or an extra support rod. A heavy topper can lean or damage a weak artificial branch.
A plain silver star provides a simple alternative that fits the space theme. You can also form a crown from silver branches, white light picks, and metallic balls. For a darker tree, try a red-and-black bow or a fan of gunmetal picks.
Choose a tree skirt that grounds the dark ornaments above it. Black velvet with silver trim, deep navy fabric with white stars, and plain gray felt all work well. A black or gray basket collar offers a cleaner option for an artificial tree.
Coordinate gifts with plain navy, silver, white, or black wrapping paper. Children can make gift tags with stars, planets, and imaginary spacecraft. Handmade details add personality without copying logos or character artwork.
Shopping List for a Star Wars Christmas Tree
You do not need to buy everything at once. Start with safe lights, plain ornaments, and one or two focal decorations. Add licensed collectibles over several seasons to spread out the cost.
Count your existing silver balls, white stars, dark ribbon, and clear ornaments before shopping. Many standard Christmas decorations fit the theme once you control the colors. Take a photo of your current ornaments so new shades of blue, silver, or red coordinate with them.
- Tree: A green, flocked, or black artificial tree, or a fresh and well-watered real tree
- Lights: UL- or ETL-certified cool white or warm white LED strands
- Focal ornaments: A small selection of officially licensed collectibles
- Filler ornaments: Matte black, silver, white, blue, red, or green balls
- Textural pieces: Metallic picks, velvet bows, clear ornaments, and brushed-silver decorations
- Garland or ribbon: Navy, black, silver, or star-patterned ribbon
- Topper: A licensed topper, plain silver star, or handmade cluster of metallic picks
- Tree skirt or collar: Navy, black, gray, silver, or star-patterned fabric
- Hanging supplies: Ornament hooks, floral wire, scissors, and storage boxes
- Power control: An indoor-rated timer that supports the connected electrical load
Choose shatter-resistant filler ornaments if children or pets spend time near the tree. Place glass decorations and valuable collectibles on high, sturdy branches. Confirm that replacement bulbs, adapters, and extension cords match the products and locations where you plan to use them.
Layer the Decorations in the Right Order
Decorating in layers prevents ribbon from covering focal ornaments. It also keeps light cords from becoming trapped beneath fragile pieces. Set out the complete palette first and remove decorations that clearly conflict with it.
Unplug the tree while adjusting cords, hooks, and wire. Step back after each layer to check the balance from across the room. Leave quiet spaces between major ornaments so each focal piece remains easy to recognize.
- Shape the tree. Spread artificial branches in several directions until they conceal most of the trunk. Rotate a real tree so its fullest side faces the room.
- Install and test the lights. Work in sections from the trunk outward. Plug in the strands briefly and check for dark bands or bright knots.
- Add ribbon or garland. Tuck it into the branches in loose vertical waves or broad diagonal sections. Avoid crushing the branch tips.
- Place the largest ornaments. Distribute them in a rough triangle pattern across the visible sides. Do not concentrate every dark or heavy piece in one area.
- Add licensed focal ornaments. Place detailed pieces near eye level on sturdy outer branches. Give each ornament enough space to remain visible.
- Fill gaps with plain ornaments. Repeat the main colors from top to bottom. Stop before every branch carries a decoration.
- Add texture and small accents. Insert metallic picks, bows, stars, and clear ornaments. Use them to connect the focal pieces rather than hide them.
- Attach the topper. Secure it to the central stem and test it gently. It should remain upright when nearby branches move.
- Finish the base. Add the skirt or collar, then arrange gifts without blocking the plug, timer, or water reservoir.
Choose One of Three Design Directions
A themed tree does not need to represent every film, series, character, and spacecraft. One visual direction makes shopping easier and gives handmade decorations a clear purpose. It also allows ordinary holiday supplies to handle most of the decorating work.
Consider the room before choosing a style. A bright palette suits light walls and modern furniture, while darker colors create more drama. A retro collection tree works well for families who add new ornaments each year.
A Bright Galactic Tree
Use cool white lights, silver balls, white stars, and deep blue ribbon for a clean, star-filled look. Add a small amount of gold if the room contains warm wood, brass, or amber lighting. Clear and white ornaments placed near the lights will appear brighter without adding more electrical effects.
Select licensed ornaments that feature heroic characters, friendly droids, or light-colored spacecraft. Keep red accents limited so they do not disrupt the blue-and-silver palette. Finish with a silver star and a navy tree skirt.
For a homemade accent, cut simple stars and circles from metallic card. Hang them at different depths with silver thread. These geometric decorations blend easily with collectible ornaments.
A Dark-Side-Inspired Tree
Build this design around black, gunmetal, silver, and controlled touches of red. Keep steady white lights as the base because an entirely red-lit tree can lose detail. Position red ornaments near bulbs so their surfaces catch the light.
Black velvet ribbon adds depth, while silver picks prevent the tree from forming one dark mass. Space villain and spacecraft ornaments apart instead of creating a crowded character section. Pair glossy black balls with matte decorations to create contrast within the same color.
Make a geometric topper from black and silver picks, or choose a simple licensed design. Add a gray or black skirt below. If the room has dark walls or furniture, increase the amount of white and silver.
A Retro Family Collection Tree
This version combines licensed collectibles with handmade stars, robots, planets, and spacecraft-inspired shapes. Traditional red, green, silver, and gold ornaments can all fit. Repeat the colors throughout the tree rather than grouping decorations by the year you acquired them.
Give children a defined set of materials, such as silver paper, white felt, blue card, and wooden beads. They can make abstract robots, moons, stars, and imaginary spacecraft. Add each child’s name and the year to the back.
Use a plain star or large bow at the top and a washable fabric skirt below. Place fragile collectibles high on the tree. Reserve the lower branches for felt and shatter-resistant ornaments.
Try Budget-Friendly and DIY Substitutes
Licensed decorations should serve as accents rather than consume the entire budget. Plain ornaments, ribbon, and paper stars can create most of the visual effect. One new focal ornament each year makes the collection easier to manage.
Secondhand decorations can reduce costs, but inspect electrical toppers and lighted ornaments before plugging them in. Discard products with cracked insulation, loose plugs, overheating parts, or missing safety information. You can clean and restring non-electrical pieces if their structures remain sound.
| Key element | Ready-made option | Budget-friendly or DIY version |
|---|---|---|
| Color base | Coordinated black, silver, blue, and white ornament set | Reuse existing balls or repaint non-collectible plastic ornaments in a limited palette |
| Lighting | Certified white LED light strands | Reuse safe, undamaged strands and select one steady setting |
| Focal ornaments | Officially licensed collectibles | Buy one or two focal pieces and surround them with plain stars, planets, and metallic balls |
| Garland | Wide metallic or velvet ribbon | Cut strips from dark fabric or loosely link silver paper circles |
| Texture | Metallic branch picks and dimensional decorations | Paint clean fallen twigs silver and position them away from skin and wiring |
| Topper | Licensed topper or large metal star | Arrange silver and black picks around a lightweight cardboard star |
| Tree skirt | Navy velvet, gray felt, or star-patterned fabric | Hem a circle of dark fabric or cover the stand with a washable gray blanket |
| Gift wrap | Coordinated navy, silver, black, and white paper | Use plain paper with hand-cut stars and contrasting ribbon |
Keep paint, glue, and other craft materials away from sockets, plugs, and electrical wires. Allow each decoration to dry completely before hanging it. Do not let lightweight paper rest against bulbs or other heat sources, even if you use LEDs.
Keep the Tree Safe Around Children and Pets
Anchor the tree to the wall if children or climbing pets could pull it over. Place breakable ornaments high and avoid edible-looking decorations near toddlers. Fold wire hooks closed so they cannot drop onto the floor.
Battery-powered ornaments require extra care. Button and coin batteries can cause severe injuries if someone swallows them. Keep these products out of reach and choose compartments that close with a screw.
Stop using any ornament with a broken battery door, leaking cell, or overheating compartment. Secure loose battery packs where children and pets cannot pull them from behind the tree.
Keep lights away from curtains, paper piles, heaters, fireplaces, and other flammable materials. Never staple or nail through a wire. Route cords away from furniture legs and walking paths to prevent pinching and tripping.
If you need an extension cord, choose one rated for the location and total electrical load. Do not connect more light strands than the manufacturer permits. Switch everything off before adjusting plugs or replacing bulbs.
Care for a Real Christmas Tree
A real tree needs water every day. Check the reservoir often, especially during the first week, because a fresh tree may absorb a large amount. Do not let the water level fall below the cut end of the trunk.
Place the tree away from heating vents, radiators, fireplaces, and direct sunlight. Heat speeds moisture loss and shortens the display period. Remove the tree once it becomes dry or begins shedding heavily.
Use a timer with both real and artificial trees. Turn off the lights while sleeping or away from home. Follow the tree and lighting manufacturers’ safety instructions throughout the season.
Give the Finished Theme Room to Breathe
The most convincing Star Wars Christmas tree does not need dozens of branded decorations. Coordinated lighting, color, texture, topper, and base create most of the effect. A few licensed ornaments stand out against repeated silver stars and dark blue balls.
View the finished tree from the place where your family usually sits. Move dark ornaments toward brighter areas and bring detailed pieces closer to eye level. Remove any decoration that disrupts the palette or hides a focal ornament.
Store everything with the same care you used during decorating. Wrap collectible pieces separately and label electrical decorations with their matching adapters. Coil light strands loosely so they stay untangled and ready for next season.