A lot of people invest in holiday light projectors these days, instead of stringing up traditional lights. For the most part, it’s pretty easy to do. Just choose a part of your house or backyard to illuminate and highlight, and point the projector that way. However, there is a little more finesse to it than that. Adjusting the angle to show off the lights to their best effect is important.
How to Angle Your Holiday Light Projector
Holiday light projectors have become a popular choice for adding a touch of magic and vibrancy to our festive decorations. To ensure you achieve the best visual impact with your projector, it’s crucial to position it correctly and at the right angle. In this article, we will guide you through the process of angling your holiday light projector to create a stunning and captivating display that will leave everyone in awe.
-
Assess Your Space
Before setting up your holiday light projector, take a moment to evaluate your space and identify the areas you want to illuminate. Consider whether you’ll be projecting onto your house, trees, or any other surface. Understanding the size and layout of your space will help you determine the ideal placement for your projector.
-
Determine the Projection Distance
Each holiday light projector has a recommended projection distance, usually mentioned in the product specifications or user manual. Measure the distance between the projector and the surface you plan to illuminate. Adhering to the manufacturer’s guidelines will ensure optimal image quality and sharpness.
-
Find the Right Height
The height at which you position your holiday light projector can significantly impact the overall effect. For outdoor use, placing the projector at ground level or a slightly elevated position often works well. This allows the lights to cover a larger area and create a seamless display. Indoor setups may require adjusting the height to align with specific objects or to cast the projection on walls or ceilings. Experiment with different heights to find the most visually pleasing outcome.
-
Test and Adjust Angles
Once you have positioned your projector, turn it on and assess the projection’s angle and coverage. Start with a straight-on angle and then make small adjustments to find the best effect. Remember to consider the projection’s width and height, ensuring it adequately covers the desired area without extending too far or leaving any gaps.
-
Experiment with Tilt and Rotation
To add depth and dynamism to your holiday light display, consider tilting and rotating your projector. Experiment with different angles to achieve the desired effect. For example, tilting the projector slightly upward can create a cascading effect on a wall, while a gentle rotation can produce a swirling pattern. Play around with these adjustments until you achieve the desired level of dimensionality and movement.
-
Consider Distance and Focal Points
In larger outdoor spaces, it’s essential to consider the distance between your projector and the focal points of your display. For instance, if you have a prominent tree or decoration that you want to highlight, adjust the projector’s angle and distance accordingly to draw attention to that specific area. Balancing the projection’s coverage with focused illumination will create a visually appealing composition.
-
Test in Different Lighting Conditions
Don’t forget to test your holiday light projector in different lighting conditions. Try it during both daytime and nighttime to observe how ambient light affects the projection’s visibility and overall impact. Some projectors offer adjustable brightness settings, allowing you to fine-tune the display according to the surrounding lighting.
Angling your holiday light projector is an essential step in creating a captivating and mesmerizing display. By carefully assessing your space, determining the appropriate projection distance, adjusting the height, and experimenting with angles, tilt, and rotation, you can achieve the best effect for your decorations. Remember to consider focal points, test in various lighting conditions, and have fun with the process. With a little experimentation and attention to detail, your holiday light projector will transform your home into a breathtaking festive wonderland that delights both you and your guests.
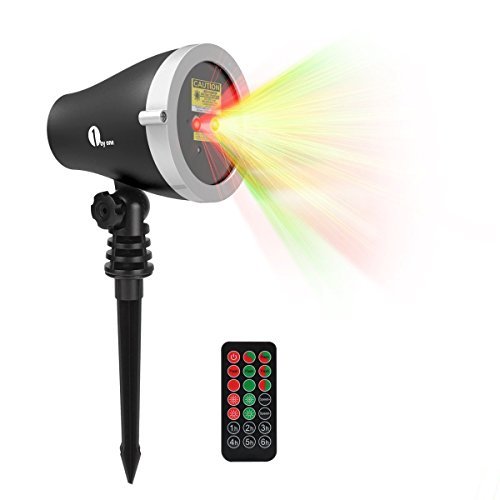
Before you start considering angles, consider what you’re buying first. You may need to splurge a bit to get the quality you want. And it will be well worth it when you switch it on. Also, before buying anything, think about your backyard or the room where you want to use it. Most, if not all, holiday light projects can be used indoors or outdoors, so that’s a plus, since you can change up how you use it.

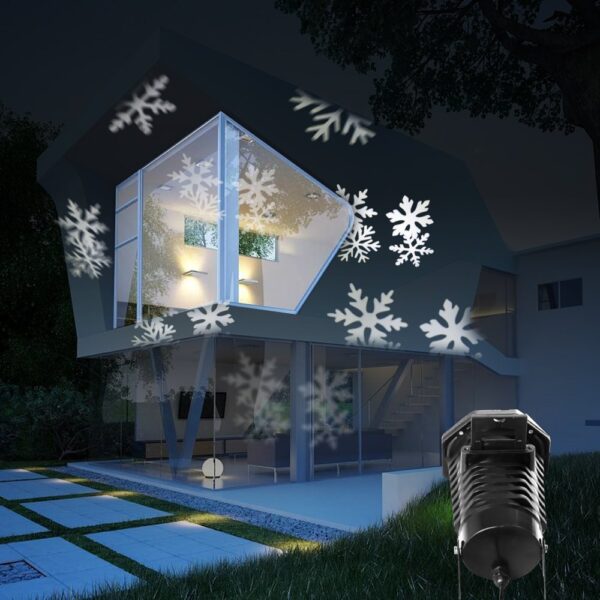
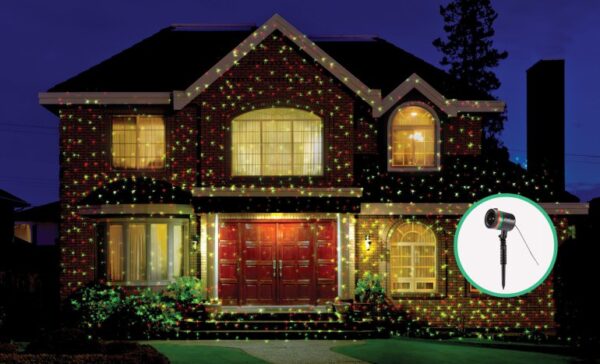
Let’s look at an example. Assume you want to illuminate your porch so the neighbors and passers by can enjoy the festivities with you. The porch is a flat surface and your holiday light projector will love it. The thing to think about is distance. Some projectors are brighter than others are, so distance is definitely a consideration. Most holiday light projectors claim to work at a 100 yards, but for optimum effect place yours between 20 to 100 feet. You’ll figure out with some testing the exact distance you should place your projector. Most likely however, anywhere you place the projector, it will work fine, as the distance doesn’t affect the focus, only the brilliance.
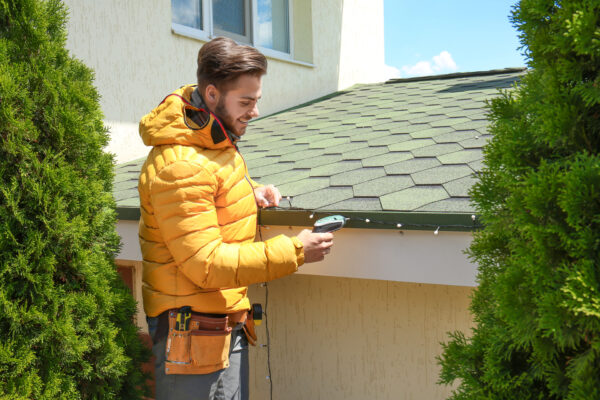
While holiday light projectors are ground based, they can always be placed at a height. You could put it on the roof to shine across a particular part of the house. Or drive a stake in the ground, mount the projector, and there you go.
There’s really no trick to angling the device. Most projectors will come with adjustable sections underneath the casing and with stakes to insert. Play around with the accessories and you can get the right angle in no time.
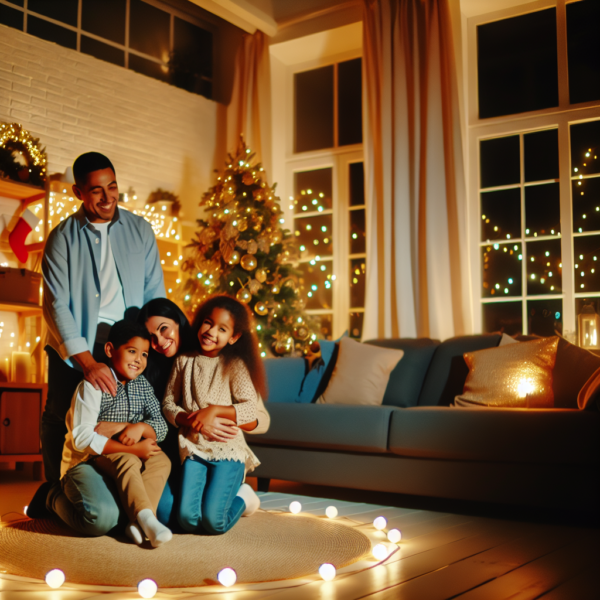
There is no better feeling than enjoying the holidays with your family. And with laser lights the experience can become even more enriching. Small details like angling your holiday light projector will make the holidays memorable for years to come.